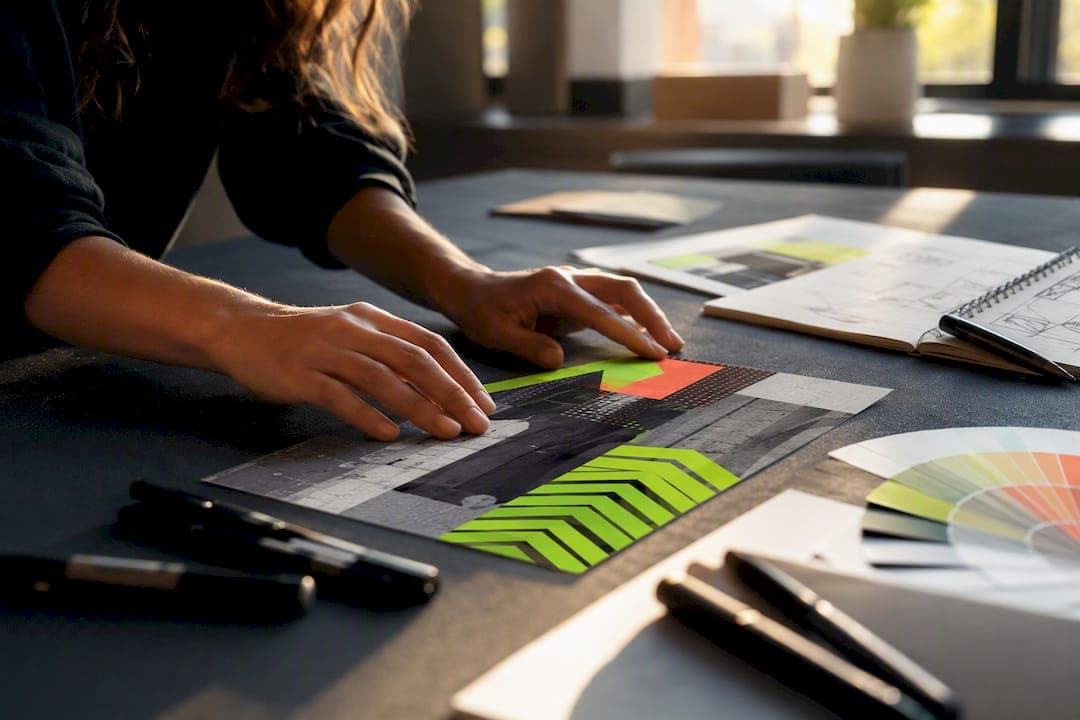
Your postcard qualifies for Every Door Direct Mail if it clears at least one of three thresholds: 6.125 inches tall, 11.5 inches long, or 0.25 inches thick, while staying under the hard ceiling of 12 by 15 inches and 0.75 inches thick, at 3.3 ounces or less. Fail that first test and USPS will kick it back as a letter, not a flat, which changes your postage class and your printer's setup entirely.
Before you open a design file, run this:
- Measure the short side. Is it over 6.125 inches? If not, redesign at 6.25×9 or larger.
- Confirm the indicia box and "Postal Customer" line sit where your printer's EDDM template says they go.
- Check that nothing but white space occupies the bottom 2 inches of the address side.
- Weigh a printed proof. Anything creeping toward 3.3 ounces needs a lighter stock.
Pro Tip: If you're unsure which dimension is your "height" versus "length," hold the piece the way it will sit in a mailbox slot. The side facing up when mail carriers flip through the stack is usually the one USPS measures first.
Key Takeaways
An EDDM postcard design succeeds when it clears the USPS size and weight thresholds, reserves the barcode clear zone, and carries a single offer with one trackable call to action.
| Point | Details |
|---|---|
| Confirm size eligibility first | Exceed 6.125 inches tall, 11.5 inches long, or 0.25 inches thick, while staying under 12×15 inches and 3.3 ounces. |
| Pick one dominant format | 6.5×9 offers the lowest per-piece cost; 8.5×11 gives more room for multiple offers. |
| Weigh a printed proof | Digital weight estimates miss real-world thickness from coatings and heavier stock. |
| Protect the barcode clear zone | Keep graphics and background color out of the reserved address area to avoid rejection. |
| Consider a managed campaign | Crowdcompany's Direct Mailer & Loyalty service handles route selection, design, and file prep in one engagement. |
Table of Contents
- What Are the USPS EDDM Size and Weight Rules?
- How Do You Design a Postcard That Wins in the Mailbox?
- What Template Measurements Should You Use for EDDM?
- Which Paper Stock and Coating Should You Choose?
- What's the Preflight Checklist Before Printing an EDDM Run?
- How Long Does an EDDM Campaign Take From Design to Drop?
- How Do You Track Results From an EDDM Postcard Campaign?
- Does Crowdcompany Handle EDDM Campaigns for Local Businesses?
- Examples of Effective EDDM Postcard Campaigns
- What USPS Rules Apply to EDDM Beyond Size and Weight?
- What Actually Matters Most in EDDM Postcard Design
- How Crowdcompany Runs EDDM Campaigns for Local Businesses
- Where to Verify EDDM Specs and Templates
- Sources
What Are the USPS EDDM Size and Weight Rules?
USPS treats EDDM pieces as flats, not letters, and that classification is the whole reason the size rules exist. Flats run through different sorting equipment than standard letter-size mail, and the equipment has physical tolerances the National Postal Museum documents going back decades in its collection on postal handling history. A piece too small for flat equipment either jams the line or gets rerouted, which is why the eligibility threshold isn't arbitrary.
The numbers, stated plainly: your postcard must exceed 6.125 inches in height, or 11.5 inches in length, or 0.25 inches in thickness, to count as a flat. On the upper end, you're capped at 12×15 inches, 0.75 inches thick, and 3.3 ounces per piece. Go over on weight and your per-piece postage jumps, sometimes enough to blow a campaign budget on a run of 5,000 pieces.
A few structural rules matter just as much as the numbers:
- The piece must be rectangular. Rounded corners are fine within a small radius, but die-cut shapes and irregular edges are not.
- The EDDM indicia and "Postal Customer" address block have to appear in the position USPS specifies, typically upper right for the indicia and lower right for the address area, per the EDDM retail fact sheet.
- A defined clear zone near the barcode area has to stay free of ink, graphics, or heavy color.
Miss any of these and your printer will likely flag it before you even reach the post office counter, but it's worth catching earlier than that.
How Do You Design a Postcard That Wins in the Mailbox?
You have roughly three seconds before a recipient decides your postcard is trash or worth a second look, and that window shapes almost every design choice that follows. A single benefit-driven headline, paired with one dominant image, beats a crowded layout every time; CRST's design breakdown points to designs that trim copy and enlarge the phone number as consistently stronger performers.
Structure the front the same way every time: headline first, hero image second, a short line of supporting text third, then your call to action. That order mirrors how eyes actually scan a page, top to bottom, biggest element to smallest.
The back carries the conversion job. It needs your phone number in a size a 60-year-old can read across a kitchen counter, a QR code linking to a landing page built for the offer, and no more than three or four bullet points supporting the main pitch. Two competing calls to action confuse readers into acting on neither, and that single mistake shows up constantly in post-campaign reviews of underperforming EDDM postcard design work.
Contrast does more work than color choice alone. Dark charcoal text on a light background reads faster than a busy multicolor gradient, especially for older recipients or anyone glancing at mail while standing at a counter. If you're picking one lever to maximize response, it's font size on the phone number and CTA, not clever copy.
- Cut your headline to seven words or fewer.
- Use one hero image, not a collage.
- Set your phone number and CTA in a size larger than any other text on the page.
- Reserve the barcode clear zone; never let a background color bleed into it.
What Template Measurements Should You Use for EDDM?
Two formats cover most small-business campaigns. The 6.5×9 postcard is the workhorse: printers often gang-run it two-up on standard press sheets, which lowers your per-piece cost, and it's large enough for a headline, image, and a short offer without feeling cramped. The 8.5×11 format gives you more room for multiple offers or a menu-style layout, at a higher per-piece print cost.
Set up your file with these specs:
- Build the document at final trim size, then add 0.125 inches of bleed on all four sides.
- Keep all text and critical graphics at least 0.25 inches inside the trim line, per the safe-zone guidance in the EDDM retail fact sheet.
- Reserve roughly 2.125 inches in the bottom-right corner of the address side for the indicia and delivery information.
- Export as CMYK, embed or outline your fonts, and place images at 300 DPI minimum.
- Save as a print-ready PDF/X file before sending it to your printer.
Folded pieces and unusual orientations are allowed, but measure the finished, folded dimension, not the flat sheet size, when checking it against the eligibility rule.
- 6.5×9: lowest cost per piece, best for single-offer campaigns.
- 8.5×11: more real estate, better for multi-service or seasonal menus.
- 6.25×11 or 9×12: largest common formats, used when visibility matters more than cost.
Which Paper Stock and Coating Should You Choose?
Fourteen-point cardstock is the industry default for EDDM, sturdy enough to survive USPS sorting equipment without curling or tearing. For a premium feel, printers often bump up to 16pt or 100 lb. cover stock, which reads as higher quality in hand but adds weight you need to track against the 3.3-ounce ceiling.
Coatings change more than gloss level. A UV coating adds shine and durability but also adds thickness, and on a run using heavier stock, that combination can push a piece over the weight limit faster than you'd expect. Matte and soft-touch coatings tend to add less bulk while still improving perceived quality.
- 14pt: standard weight, lowest cost, fine for most single-location campaigns.
- 16pt or 100 lb. cover: heavier feel, better for premium positioning, watch the ounce count.
- UV coating: high shine, added thickness.
- Matte or soft-touch: subtler upgrade, minimal weight penalty.
Pro Tip: Ask your printer for a physical scale sample before committing to a full run. Weigh it yourself next to the indicia area, since small stock or coating changes can tip a large-format piece over 3.3 ounces at production scale even when the digital proof looked fine.
What's the Preflight Checklist Before Printing an EDDM Run?
Run these steps in order before you approve a print job:
- Measure the finished piece in both directions and confirm it clears at least one EDDM threshold while staying under the maximum size and weight caps.
- Hold the piece the way it sits in a mailbox to confirm which dimension counts as height for classification purposes.
- Verify the indicia box, "Postal Customer" wording, and address area sit in their required positions with nothing overlapping the barcode clear zone.
- Weigh a printed sample, not just the digital file estimate.
- Check corner radius against USPS limits, and confirm you haven't specified a die-cut shape.
Most rejections trace back to one of two problems: artwork bleeding into the barcode clear zone, or a piece that measured fine on screen but came in overweight once printed at full thickness. Both are catchable with a physical proof, which is why skipping that step is the single costliest shortcut in EDDM production.
- Fix a barcode-zone violation by shifting your background color or graphic inward, not by shrinking the address text.
- Fix an overweight piece by dropping to a lighter stock or removing a coating layer, not by trimming the physical size.
How Long Does an EDDM Campaign Take From Design to Drop?
- Select carrier routes using the USPS mapping tool, filtering by household count or demographic overlap with your target customer.
- Finalize and submit your print file, budgeting 3 to 5 business days for a short-run proof and 7 to 10 for a large run, with buffer days built in for revisions.
- Confirm Retail EDDM entry limits, commonly cited around 5,000 pieces per day per entry point, with your printer, since many handle drop-off coordination directly.
- Bring your printed pieces and route paperwork to the post office serving those routes on acceptance day. No mailing list or permit is required for Retail EDDM.
How Do You Track Results From an EDDM Postcard Campaign?
Give every creative variant and route its own tracking mechanism: a unique phone number, a distinct promo code, or a dedicated QR landing page. Split routes into two groups, hold the offer constant, and change only the headline or image between them.
- Calculate response rate as replies or redemptions divided by pieces mailed.
- Calculate cost per acquisition as total campaign cost divided by new customers.
- Repeat a winning creative on new routes before testing a fresh concept.
Response and conversion benchmarks vary too widely by industry and offer to state a single reliable figure, but comparing your own routes against each other gives you a usable baseline fast.
Does Crowdcompany Handle EDDM Campaigns for Local Businesses?
Crowd is rated the #1 marketing agency in Boca Raton, and direct mail sits inside a broader toolkit that includes social, SEO, and GEO services built for local visibility. When a campaign spans multiple carrier routes, needs coordinated creative testing, or has to tie mailbox response back to a CRM, doing it solo starts costing more time than it saves.
- Crowd's Direct Mailer & Loyalty service covers design, print coordination, and route strategy in one engagement.
- A managed engagement typically includes creative development, USPS-compliant file prep, and route selection guidance.
- DIY works fine for a single-location, single-route test; an agency earns its cost once you're running multiple routes or tracking results across creative variants.
Examples of Effective EDDM Postcard Campaigns
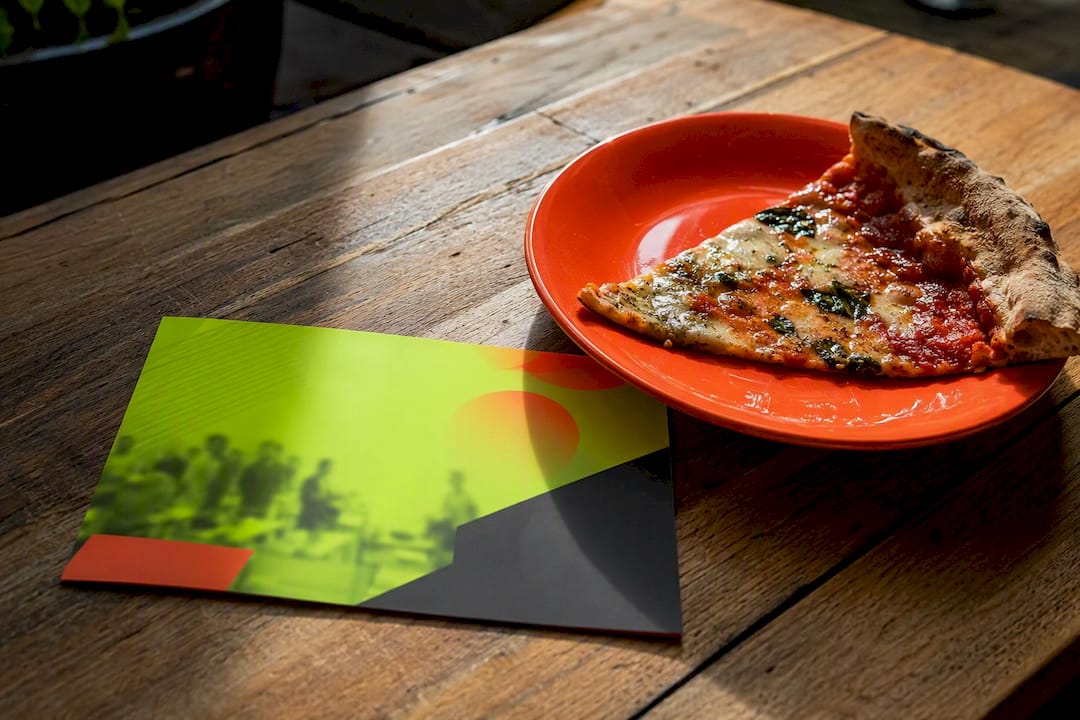
A pizza shop running its first EDDM drop typically leans on one photo of the actual product, a limited-time discount code, and a phone number set in oversized type. That combination works because it removes decision friction: the recipient sees food, sees a deal, sees how to act, all inside the three-second window before the piece gets tossed or set aside.
A local dental practice running new-patient offers tends to succeed with a different structure: a friendly headshot instead of a stock photo, a specific dollar-amount offer for new patients, and a QR code linking directly to a booking page rather than a general website. The specificity matters more than the design polish. A vague "Save on Your Next Visit" underperforms a stated dollar figure almost every time.
Restaurants running seasonal promotions often see the restaurant-focused direct mail strategies approach outperform generic "come visit us" messaging, largely because a time-bound offer creates urgency a static brand message can't. The strongest examples share three traits regardless of industry: one clear offer, one visual focal point, and one tracking mechanism unique to that specific mailing. Campaigns that try to promote three services at once on a single postcard consistently see lower response than ones that pick a single offer and commit to it.
Route selection amplifies or undercuts even a strong design. A well-designed piece sent to the wrong demographic still underperforms, which is why pairing restaurant direct mail examples with careful route filtering tends to outperform design polish alone.
What USPS Rules Apply to EDDM Beyond Size and Weight?
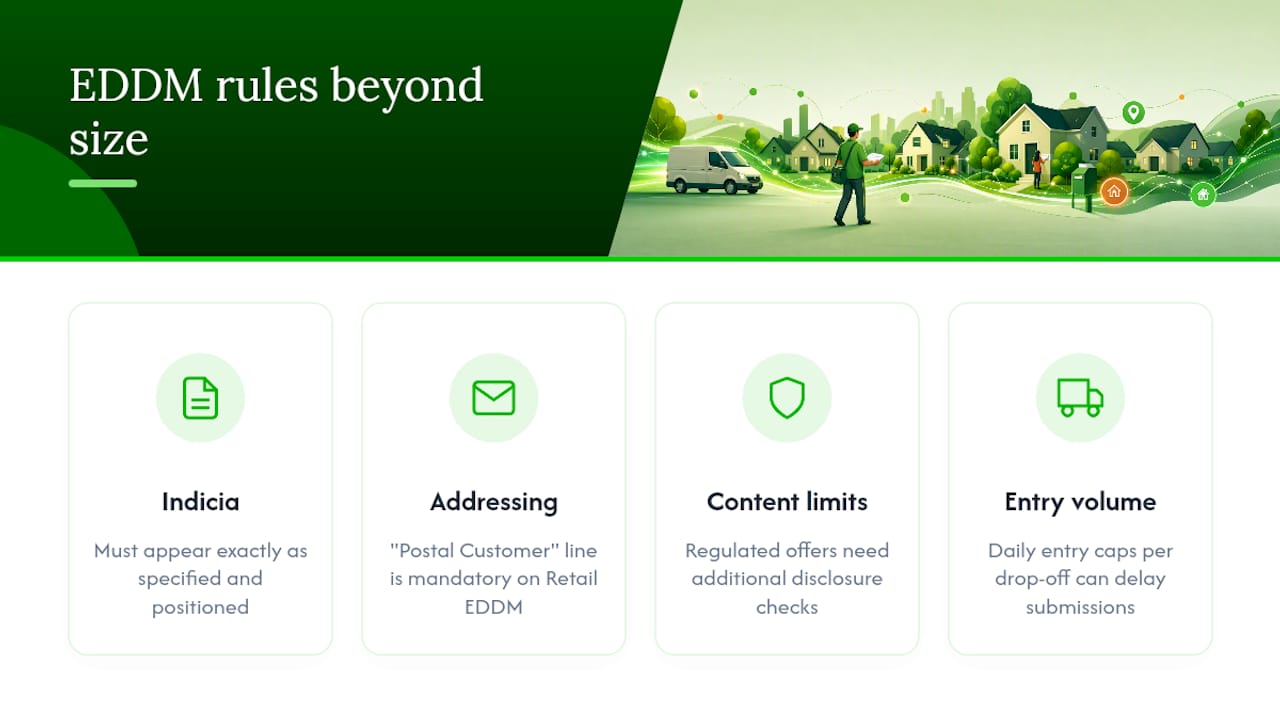
Size and weight get most of the attention, but USPS enforces content and format rules too, and violating them can hold up acceptance even on a perfectly sized piece. The indicia must appear exactly as specified, with the correct wording and positioning, since a modified or relocated indicia is one of the more common reasons pieces get sent back at the counter.
The "Postal Customer" or equivalent addressing line is mandatory on Retail EDDM pieces since there's no individual mailing list attached to the mailing. You can't substitute a personalized greeting or omit that line, even if your creative concept would look cleaner without it.
Content restrictions apply too, though they're narrower than most first-time mailers expect. Certain regulated categories, including some financial offers, sweepstakes-style promotions, and specific health claims, carry additional disclosure requirements under general USPS mailing standards, separate from EDDM-specific rules. If your postcard promotes a regulated product or service, check with your printer or a compliance resource before finalizing copy, since these rules sit outside the pure size and weight checklist most guides focus on.
Retail EDDM also caps daily entry volume per drop-off point, and mailers who exceed that without prior coordination can see their submission delayed rather than rejected outright. None of this is complicated once you know it exists, but it's exactly the kind of detail that trips up a first-time mailer who assumed "the postcard fits" was the only test that mattered.
What Actually Matters Most in EDDM Postcard Design
Most guides treat EDDM as a sizing problem, and the industry norms reinforce that: hit the dimension threshold, weigh under 3.3 ounces, done. That's necessary, but it's the floor, not the strategy. The bigger failure I see in underperforming campaigns isn't a rejected mailpiece. It's an accepted, perfectly compliant postcard that nobody responds to because it tried to say six things at once.
The conventional advice undersells how much a single offer and a single tracking mechanism matter compared to design polish. A plain postcard with one clear discount and a unique promo code will usually outperform a beautifully designed piece promoting three services with no way to measure which one drove the call.
If you take one thing from this: pick your offer before you pick your fonts. Route selection and offer clarity do more for response rate than any layout tweak, and most business owners spend their design budget backward, polishing visuals on a message that was never sharp enough to earn a second glance in the first place.
How Crowdcompany Runs EDDM Campaigns for Local Businesses
Crowdcompany is the alternative to hiring a print shop and a designer separately: one team handles route selection, USPS-compliant file prep, and creative design under a single engagement, so nothing gets lost between the person who picked your ZIP codes and the person who built your postcard.
If you've read through the size rules, the indicia placement requirements, and the file-prep checklist above and you're already dreading the preflight step, that's the exact gap a managed campaign closes. Crowdcompany's Direct Mailer & Loyalty service covers creative development, route strategy, and print coordination, while local visibility work through Digital PR & Local services can extend that same targeting into search and map results. DIY EDDM works fine for a single-route test run. Once you're coordinating multiple routes, tracking response across creative variants, or trying to tie mailbox activity back to actual bookings, that complexity is exactly what an agency engagement is built to absorb. Request a preflight quote or upload your current artwork for a compliance check before your next print run.
Where to Verify EDDM Specs and Templates
- Start with USPS's own Every Door Direct Mail landing page for route selection tools and official program rules.
- Download the EDDM retail fact sheet for indicia layout diagrams and clear-zone specifications.
- Cross-check size and stock recommendations against printer guides like Mailpro's EDDM sizing breakdown and CRST's EDDM specs guide.
- Review real design mistakes and fixes in CRST's EDDM postcard design analysis before finalizing your layout.
Sources
- Every Door Direct Mail (EDDM) - Targeted Mail Marketing
- EDDM Postcard Sizes & Specs: What size postcard for EDDM?
- EDDM Postcard Sizes & Specs: Complete 2026 USPS Guide | CRST
- Every Door Direct Mail (EDDM) retail fact sheet (USPS PDF)